Who
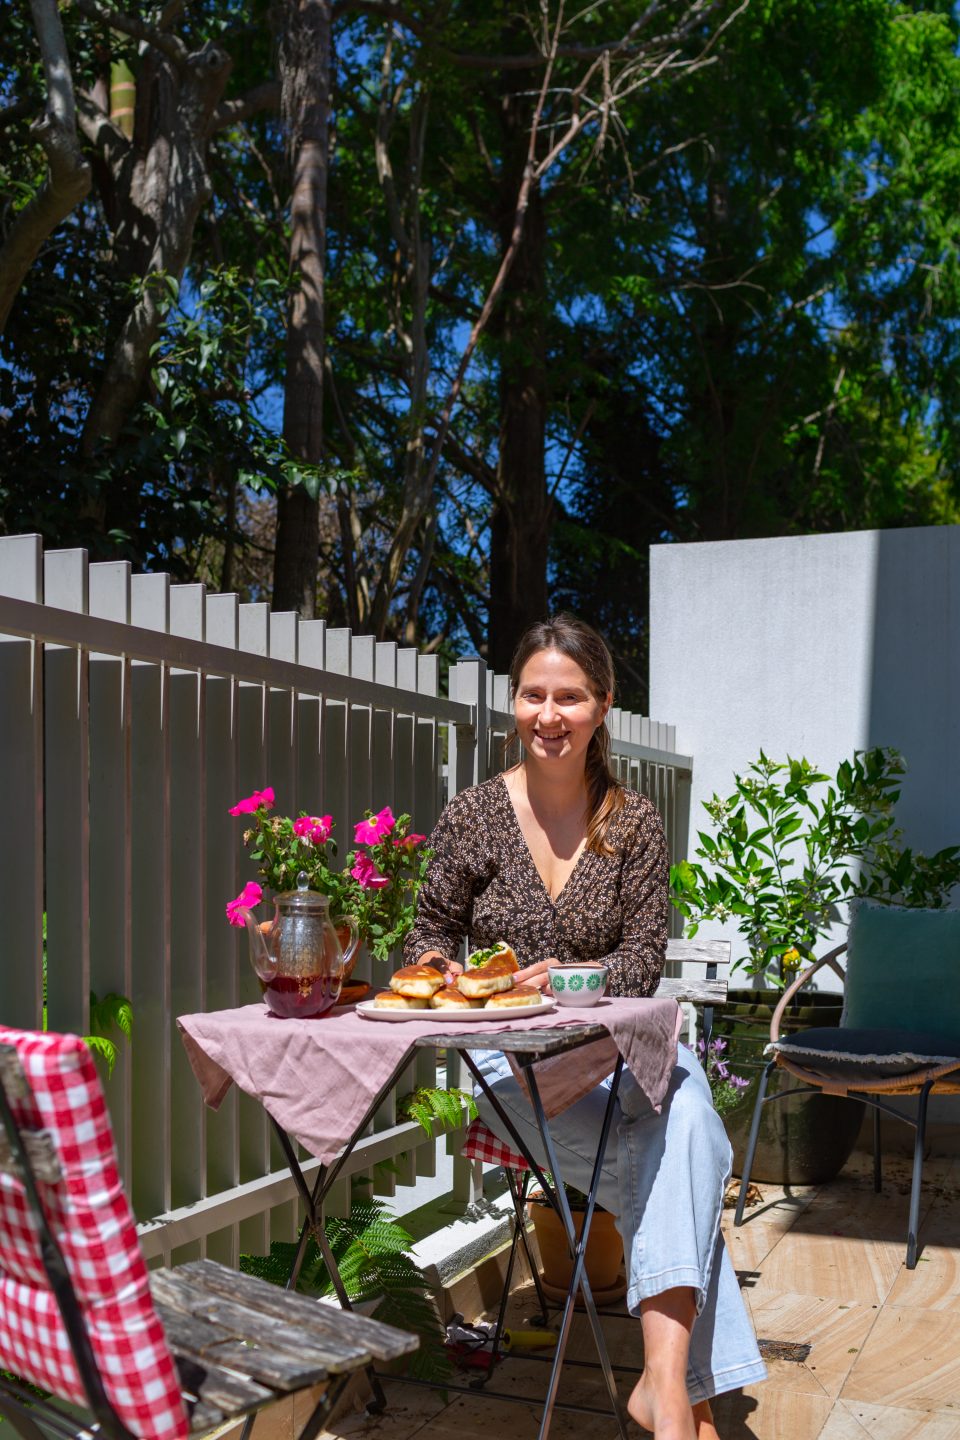
Anastasia Zolotarev
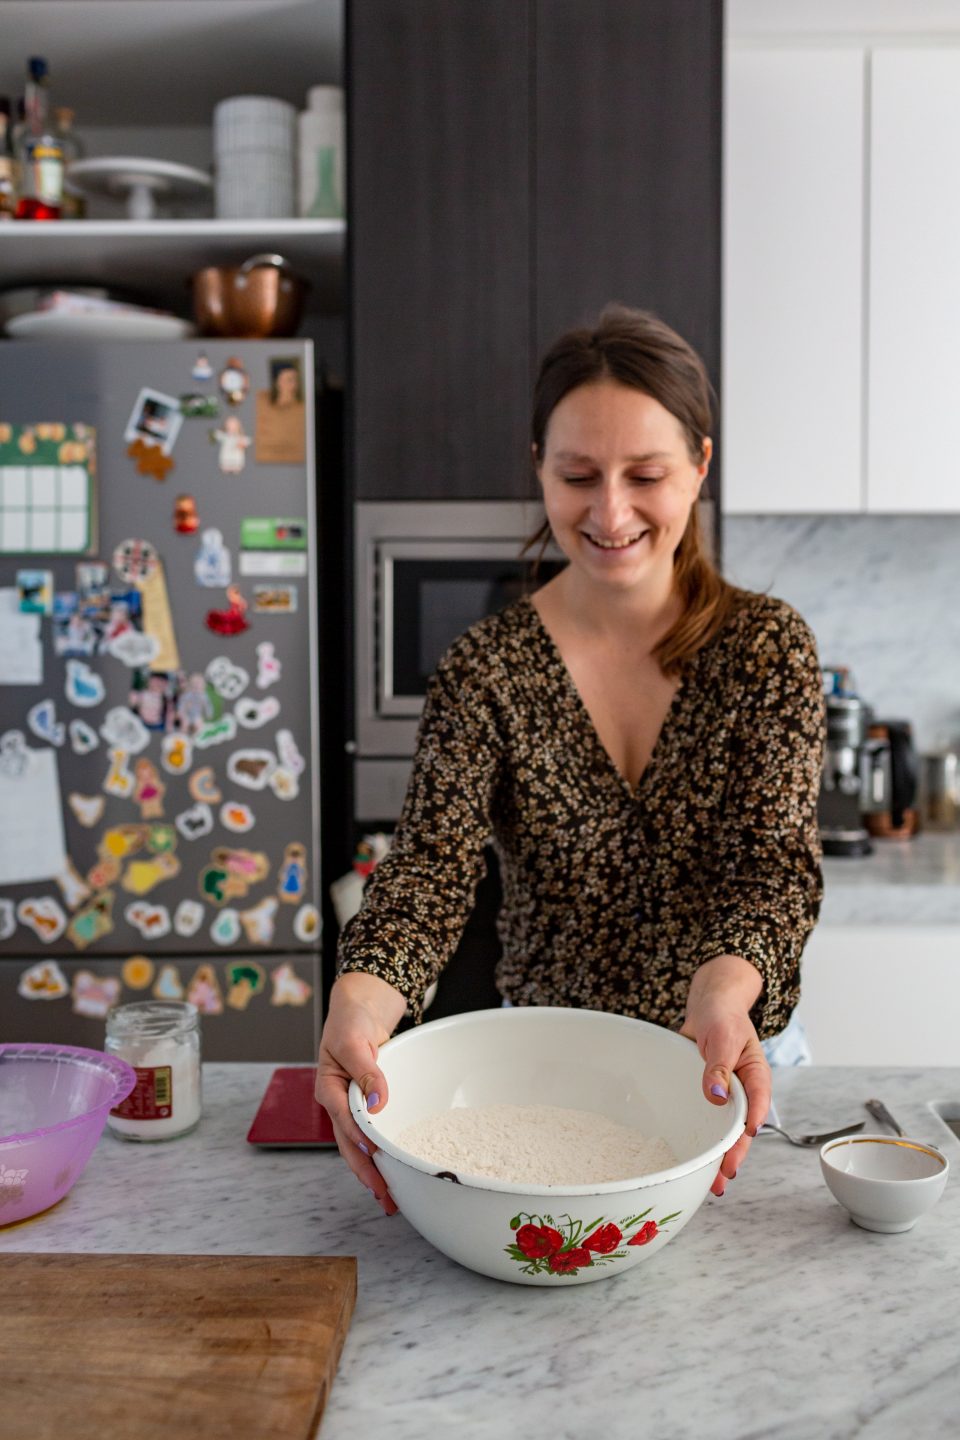
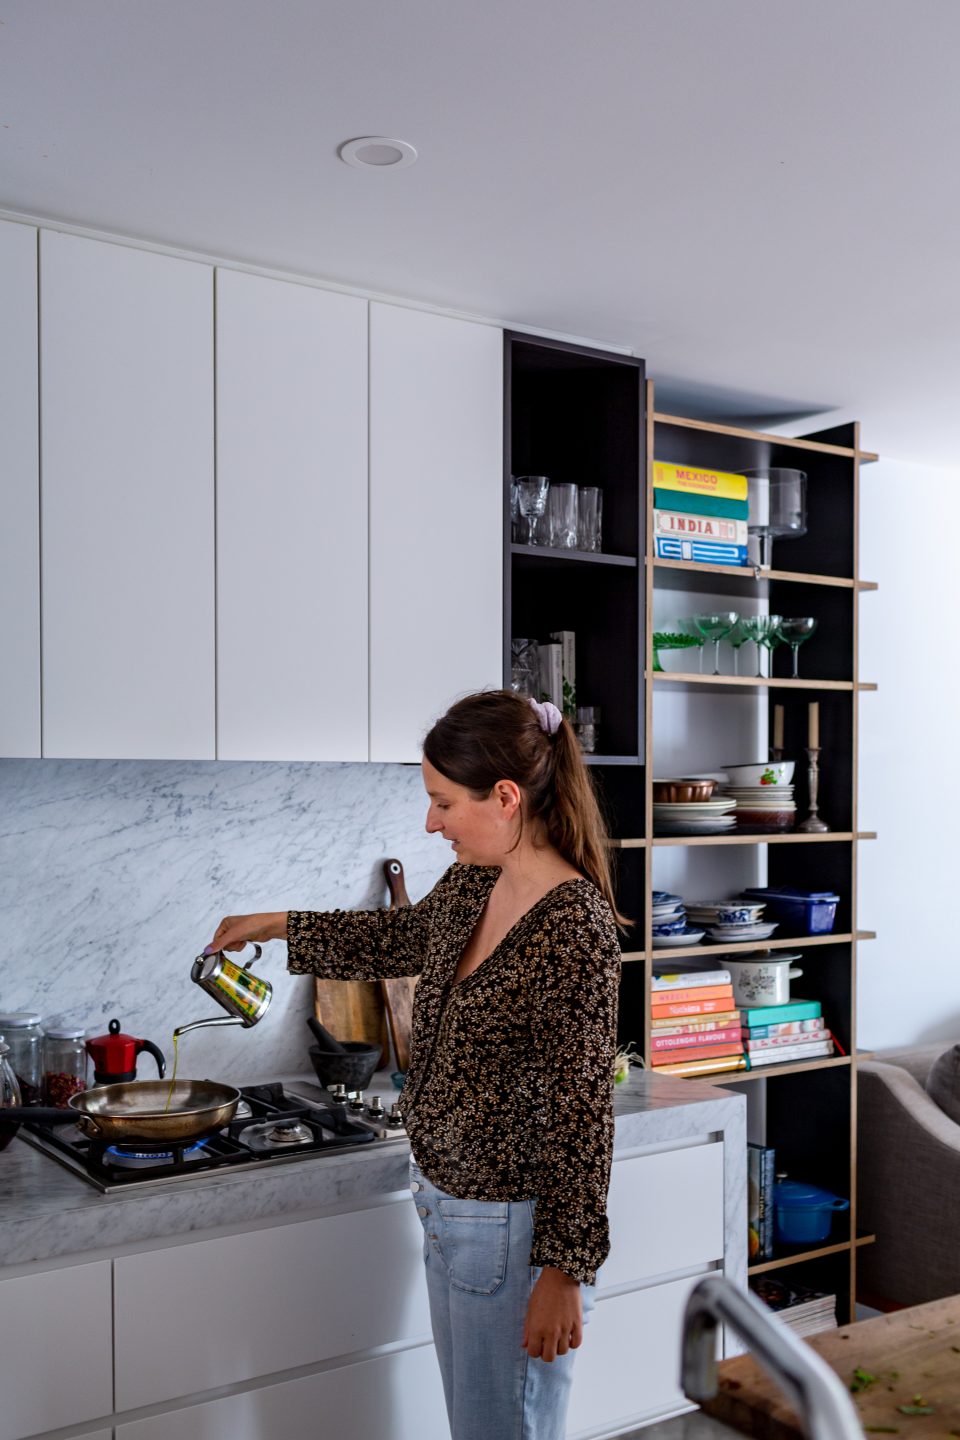
When you scroll through Anastasia’s Instagram food posts, you can’t help but be filled with sense of warmth and nostalgia. As a food writer and recipe developer, Anastasia places above all the importance of fresh seasonal and sustainable ingredients, infusing each of them with her family’s tradition cooking methods she inherited from her Mum and her Babushkas.
Anastasia’s journey in food began long before she knew it. She grew up watching and assisting her Mum in the kitchen from an early age, living her day to day traditions and ways of cooking. Anastasia’s Mum was always an incredible host, setting up the most delicious tables for different occasions. Together they foraged for wild mushrooms, made jam from seasonal fruit and lots and lots of pierogi, vareniki, dumplings, cakes and desserts!
In her early 20s, after working in the hospitality industry for a while, Anastasia had a pivotal moment where she decided to give cooking a go and entered Masterchef Australia. Through cooking Anastasia takes pleasure in exploring different cultures, people, books and platforms.
Recently with help from family and friends, Anastasia made hundreds of today’s featured Pirozkhis for the Cook for Ukraine fundraiser pop up.
“These pirozkhis are a pretty unaltered family recipe from my great grandma Zinaida. My Ukrainian side of the family is from Kharkiv Ukraine. We lived there with my Dad’s side of the family before we migrated to Australia. However pirozkhi is also made throughout other parts of Eastern Europe, and I was born in Belarus before shortly moving to Ukraine – my family in Belarus also make these, they use a different filling though and slightly different version of dough, plus my Mum prefers the baked version of these with a slow cooked meat and liver filling. I love those little diverse details in recipes that reflect certain factors and regions. This particular filling is very focussed on spring onion and greens, chopped boiled eggs are added into it. We used to have a Dacha just outside of the city (a plot of land where my grandparents would grow vegetables and had a little wooden house). They would spend their weekends there growing and maintaining the produce. Spring onion was so easy and fast to grow, wild greens foraged in nearby forests would also be used. However living in Sydney with easy access to stores, I often just get whatever is fresh and in season! Leafy spinach and baby spinach as well as fresh dill and parsley is a great combination. Whatever you choose to do, my Babushka would always say it must have lots of spring onion. Babushka would say they also made these with a legume and carrot filling when legumes were very readily available. They really had a lot of food shortages so everything was always so shaped by seasons, what they could grow themselves and the unreliable amount and options that were in the stores. I try to keep the filling as similar as possible to what they would use.“
Anastasia’s use it up tip
Finely chop your leftover herbs (dill, parsley, etc) and mix with any leftover dairy (sour cream, Greek yoghurt, feta, ricotta etc.) and add into your mash potatoes.
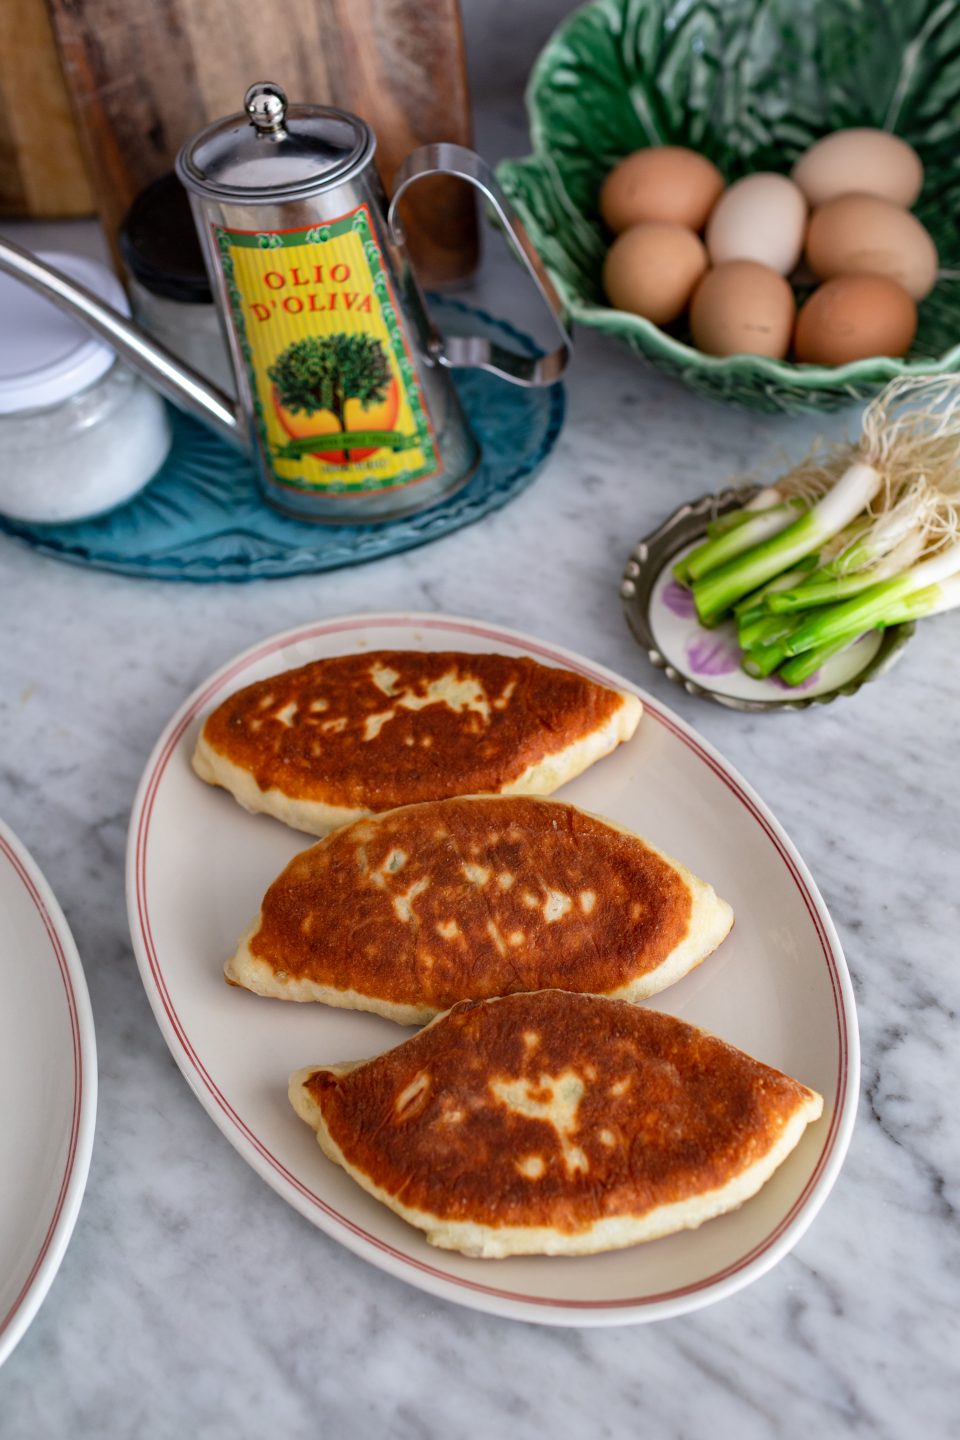
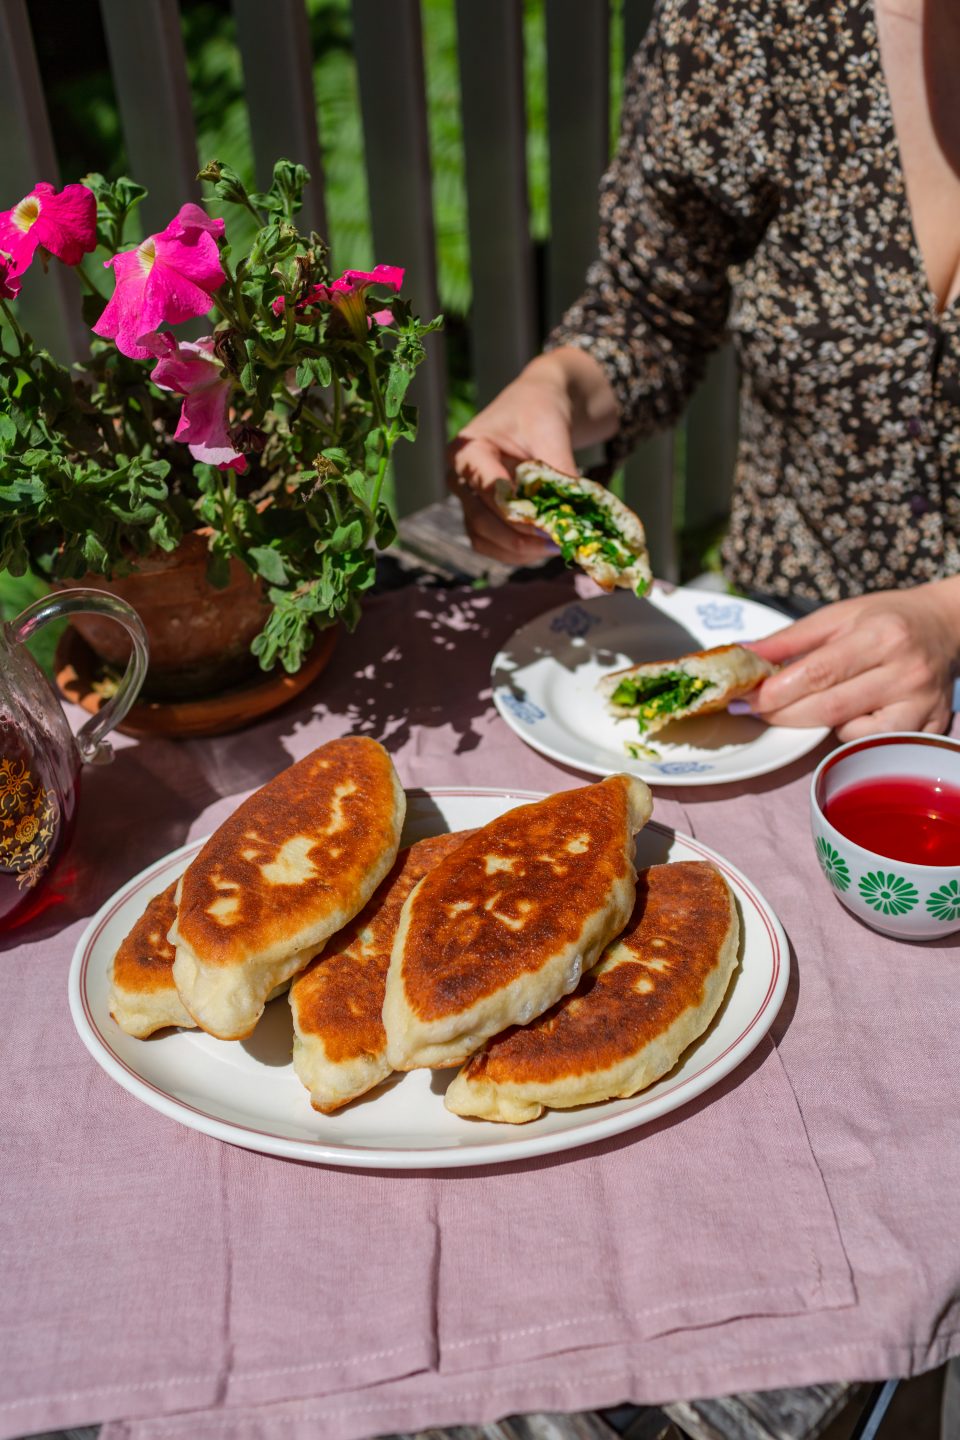
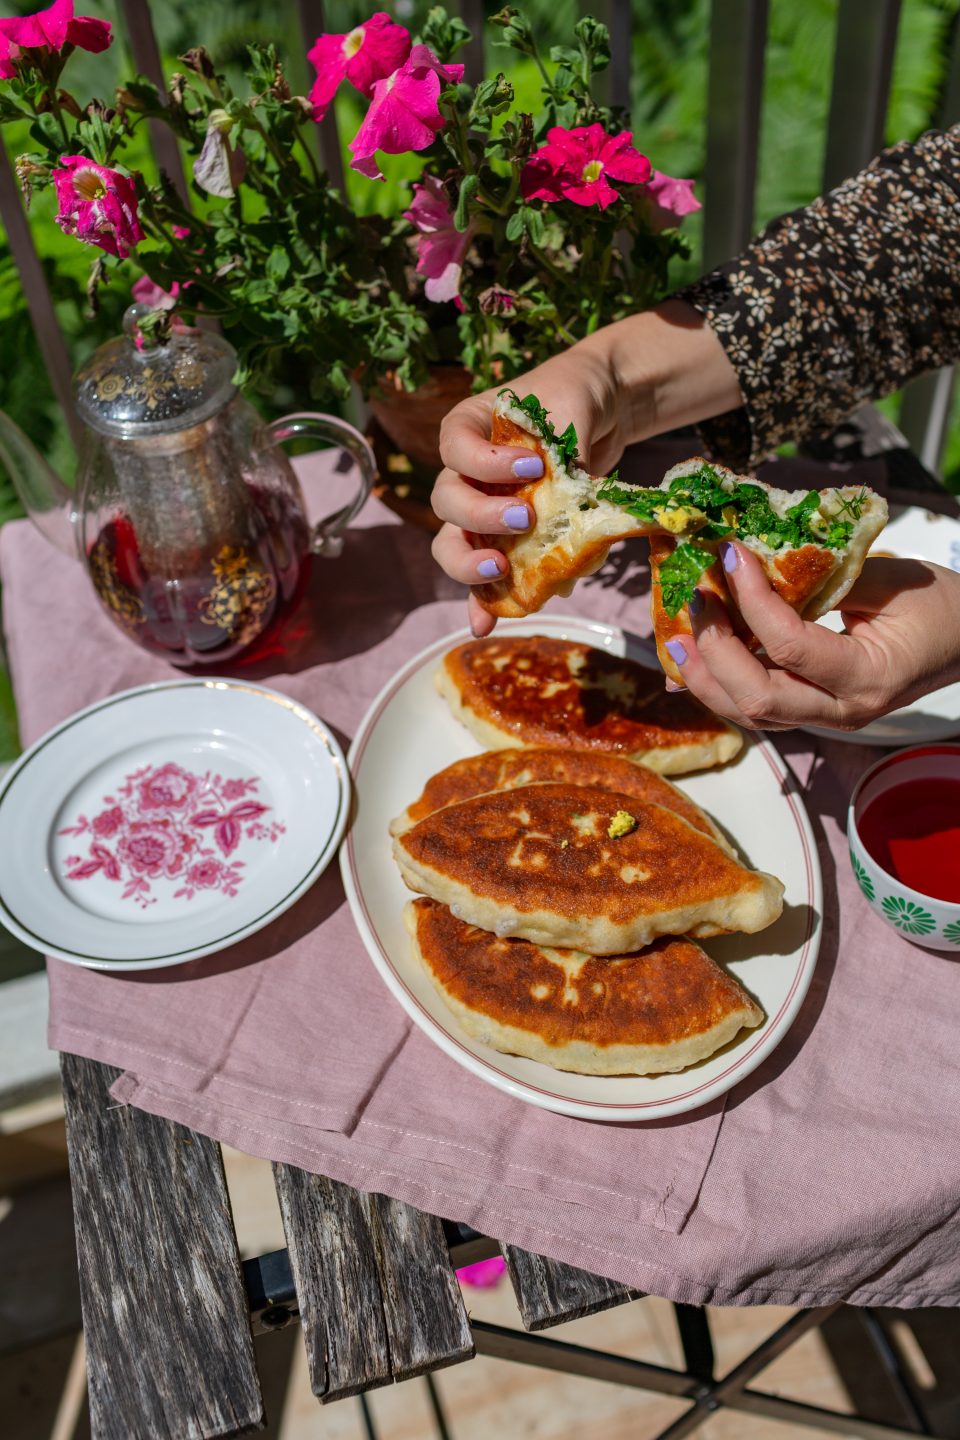
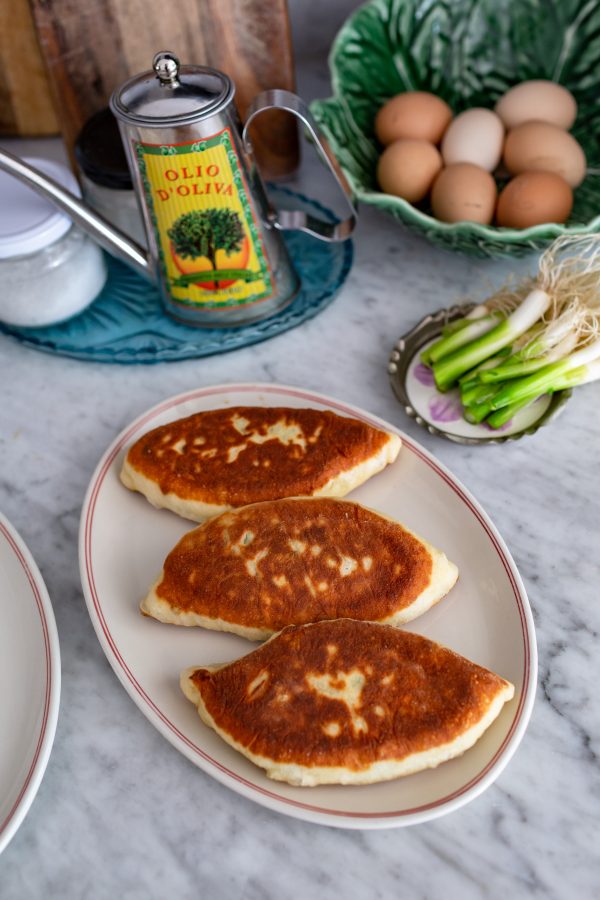
Fried Pirozkhi/Pyrizhky with Greens and Egg Filling
Prep time: | Cook time: | Serves 16
- Dough
- 50g sunflower or olive oil + extra for cooking
- 14g dry yeast (instant dry yeast works best)
- 50g caster sugar
- 3 generous pinches of salt
- 550g plain flour* + extra for kneading
- 500ml lukewarm water
*Cooking notes:
The specific amount of flour depends on how much the dough ‘takes’ that day. Start with the 550g that is recommended and then add more while you knead it and you can be generous with the flour when you roll these out. - Greens and Egg Filling
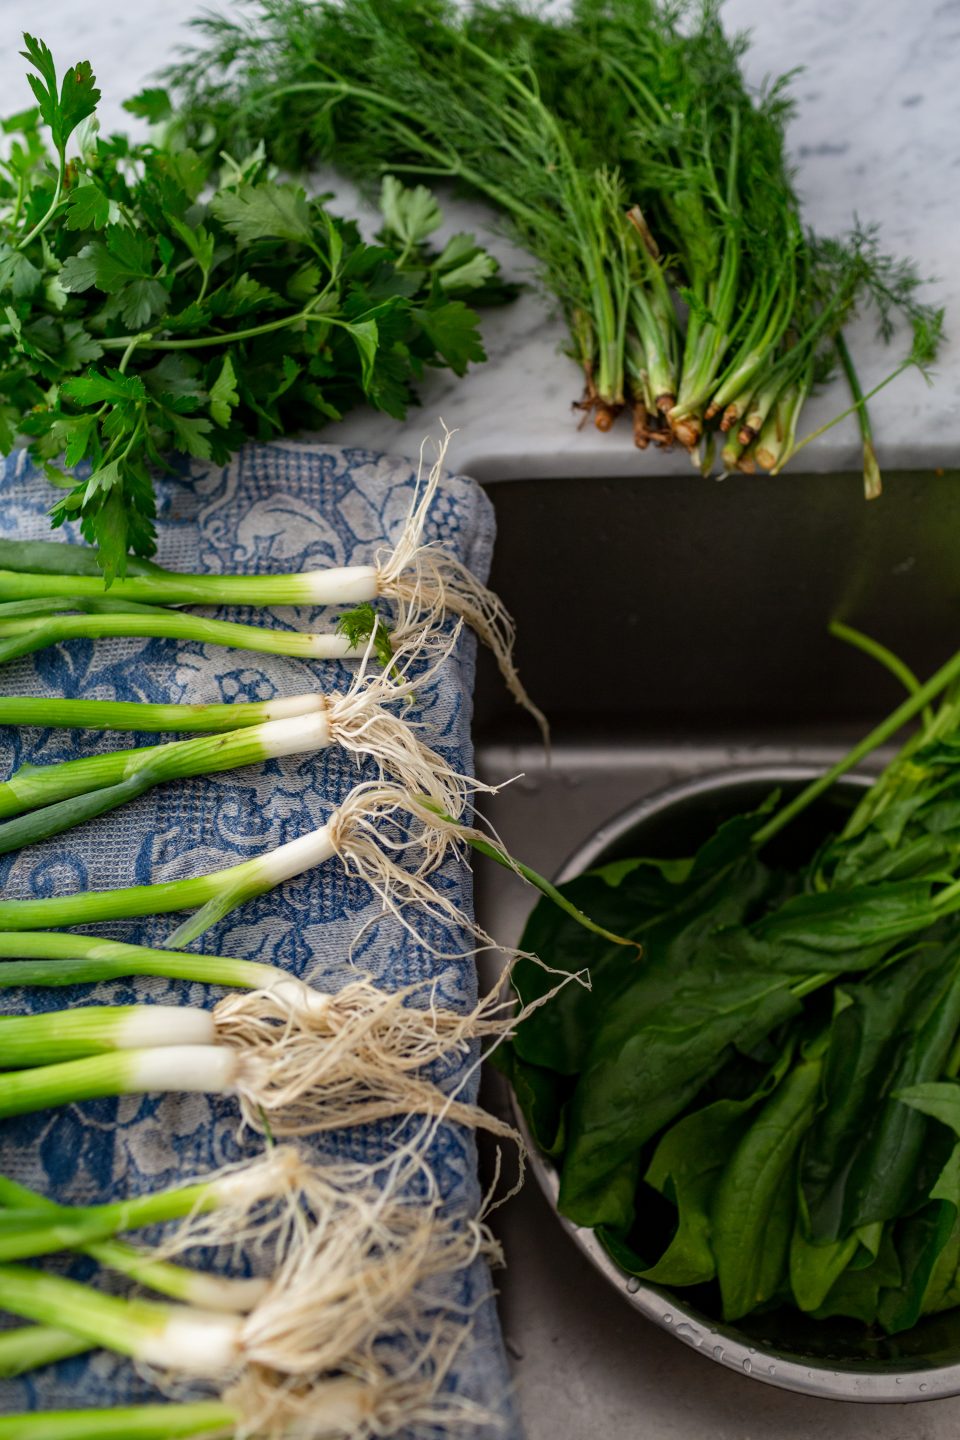
- 1 large bunch of leafy English spinach
- 1 large bunch of spring onion
- 1 large bunch of dill
- 1 large bunch of parsley
- 4 medium eggs
- Heat the water for the dough in a small pot until it’s lukewarm. Remove from the heat.
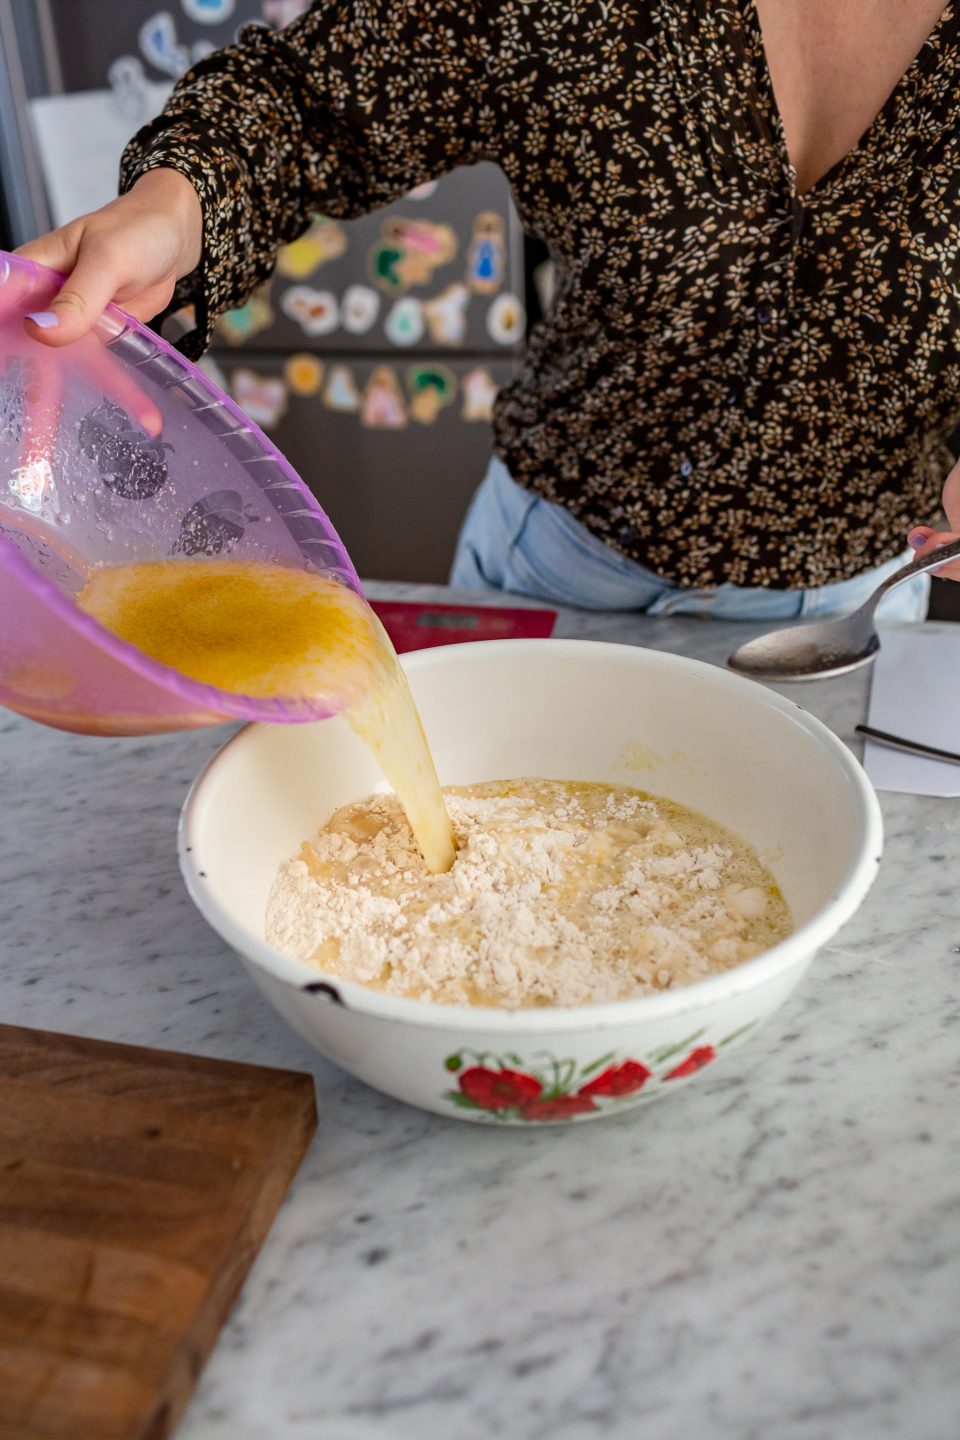
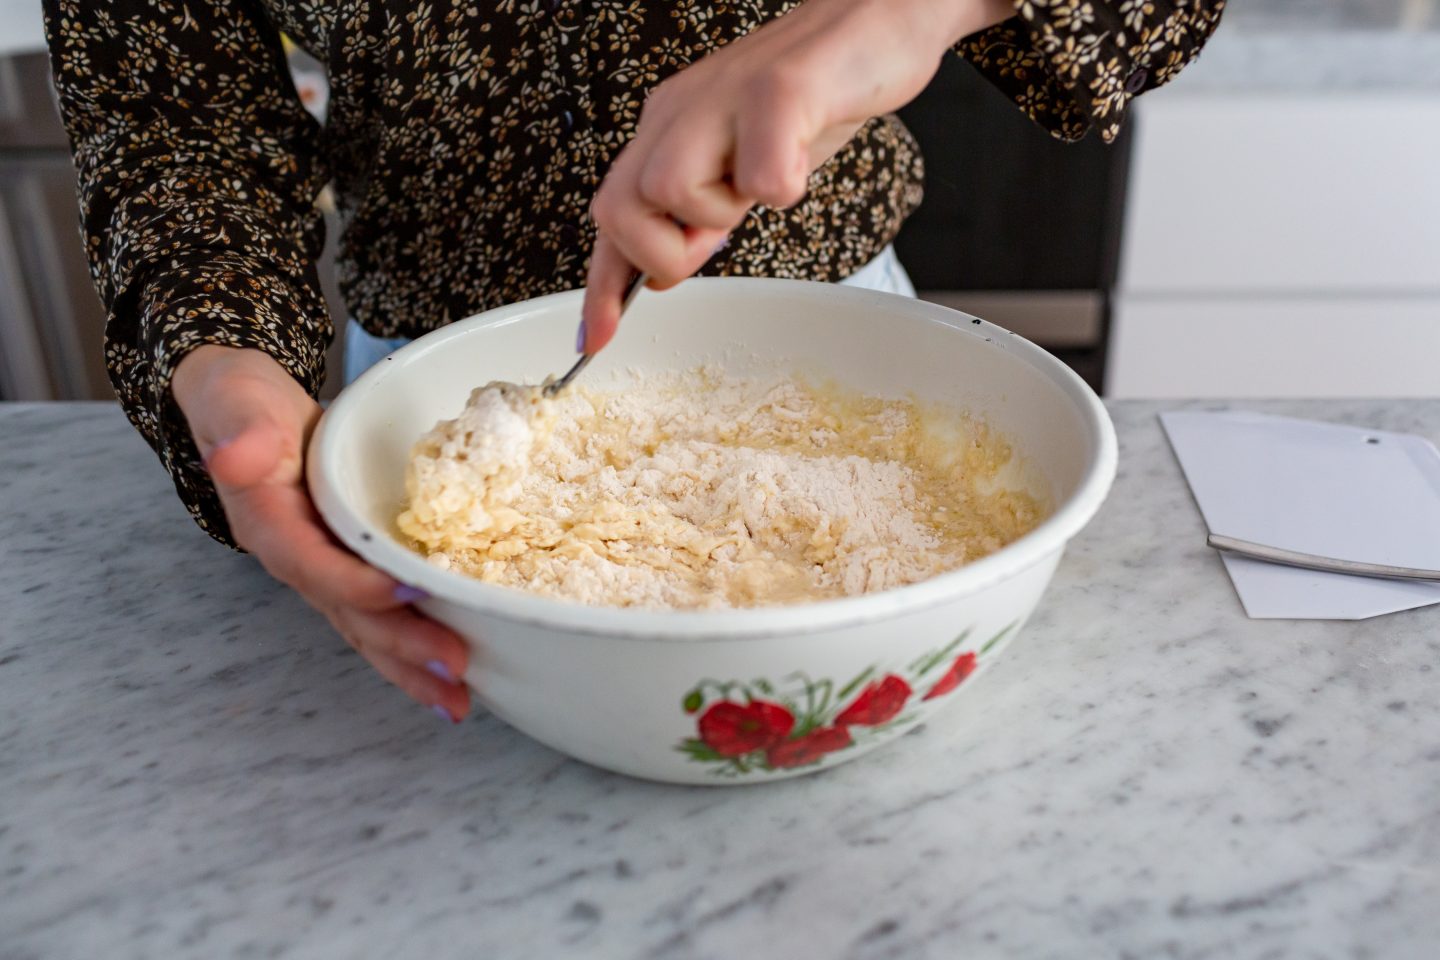
- In a large mixing bowl add in the oil, the yeast, the caster sugar and the salt. Use a whisk to roughly combine these ingredients together. Sieve in the flour and pour in the luke warm water. Use a whisk or spatula to mix together until it’s formed a sticky and rough textured dough.
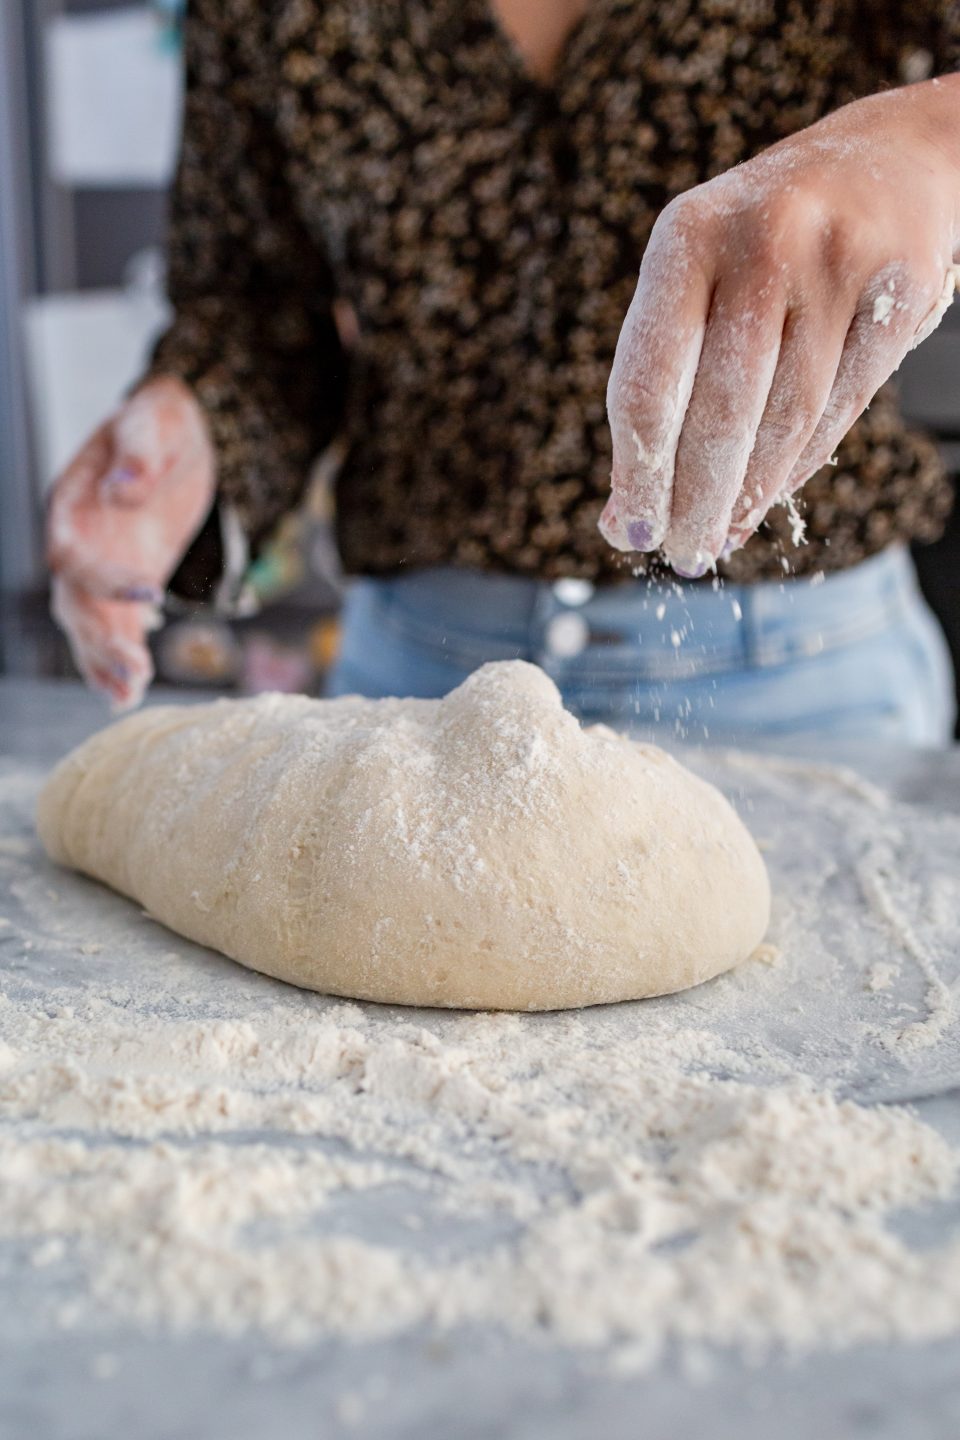
- Generously coat a kitchen bench or large wooden board in flour. Transfer the dough mixture onto this surface and sprinkle plenty of extra flour over the top. Flour your hands really well then begin to knead the dough. Knead for approximately 5 or so minutes or until the dough has come together nicely into a smooth surfaced round shape. Feel free to add a bit more flour if you need to (this always varies day to day and on humidity etc).
- Place the dough into that same original mixing bowl – with the surface of the bowl lightly floured. Cover with wrapping or a large enough board and place into the fridge for 30 minutes.
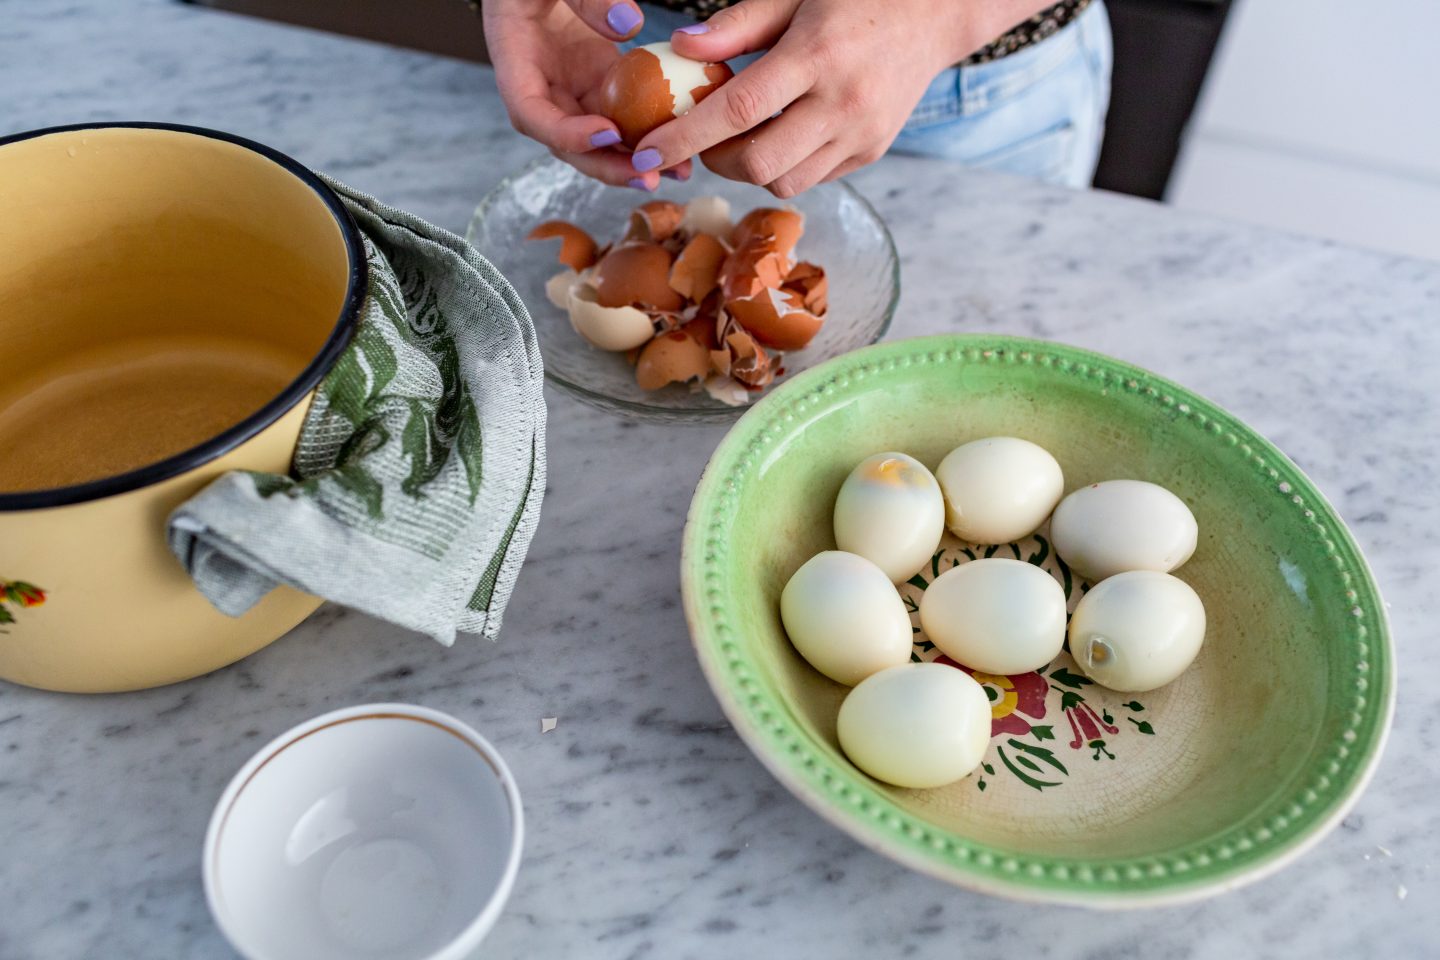
- Prepare the filling by placing the eggs into a pot of cold water. Cover with a lid and bring to a gentle boil. Reduce the heat to a simmer and cook the eggs for approximately 10 minutes. Remove from the heat, pour out the hot water and fill with cold tap water to cool the eggs.
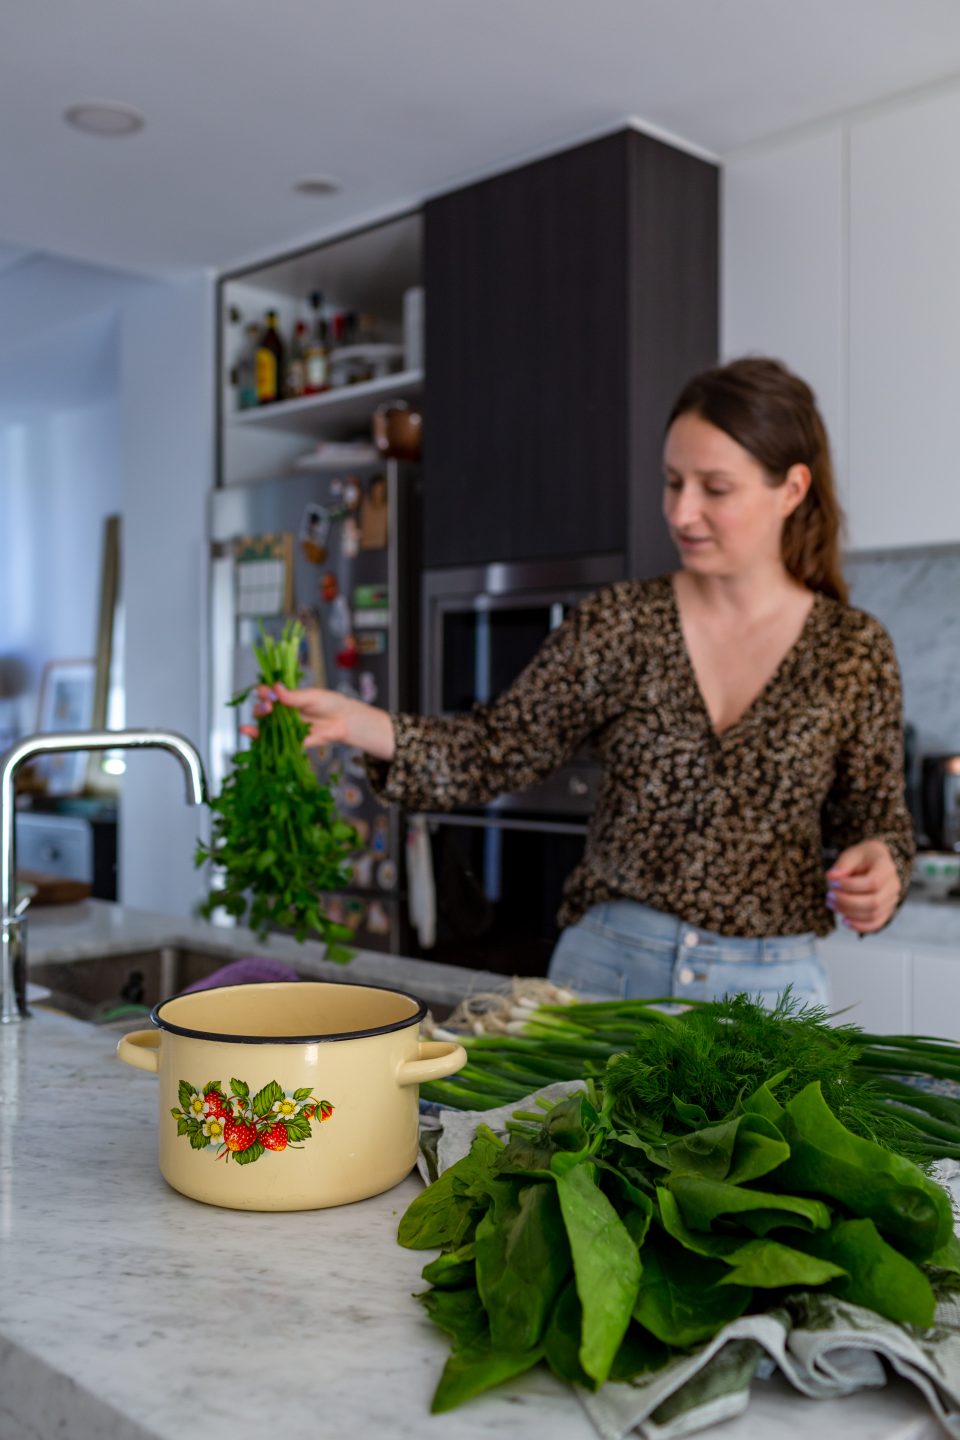
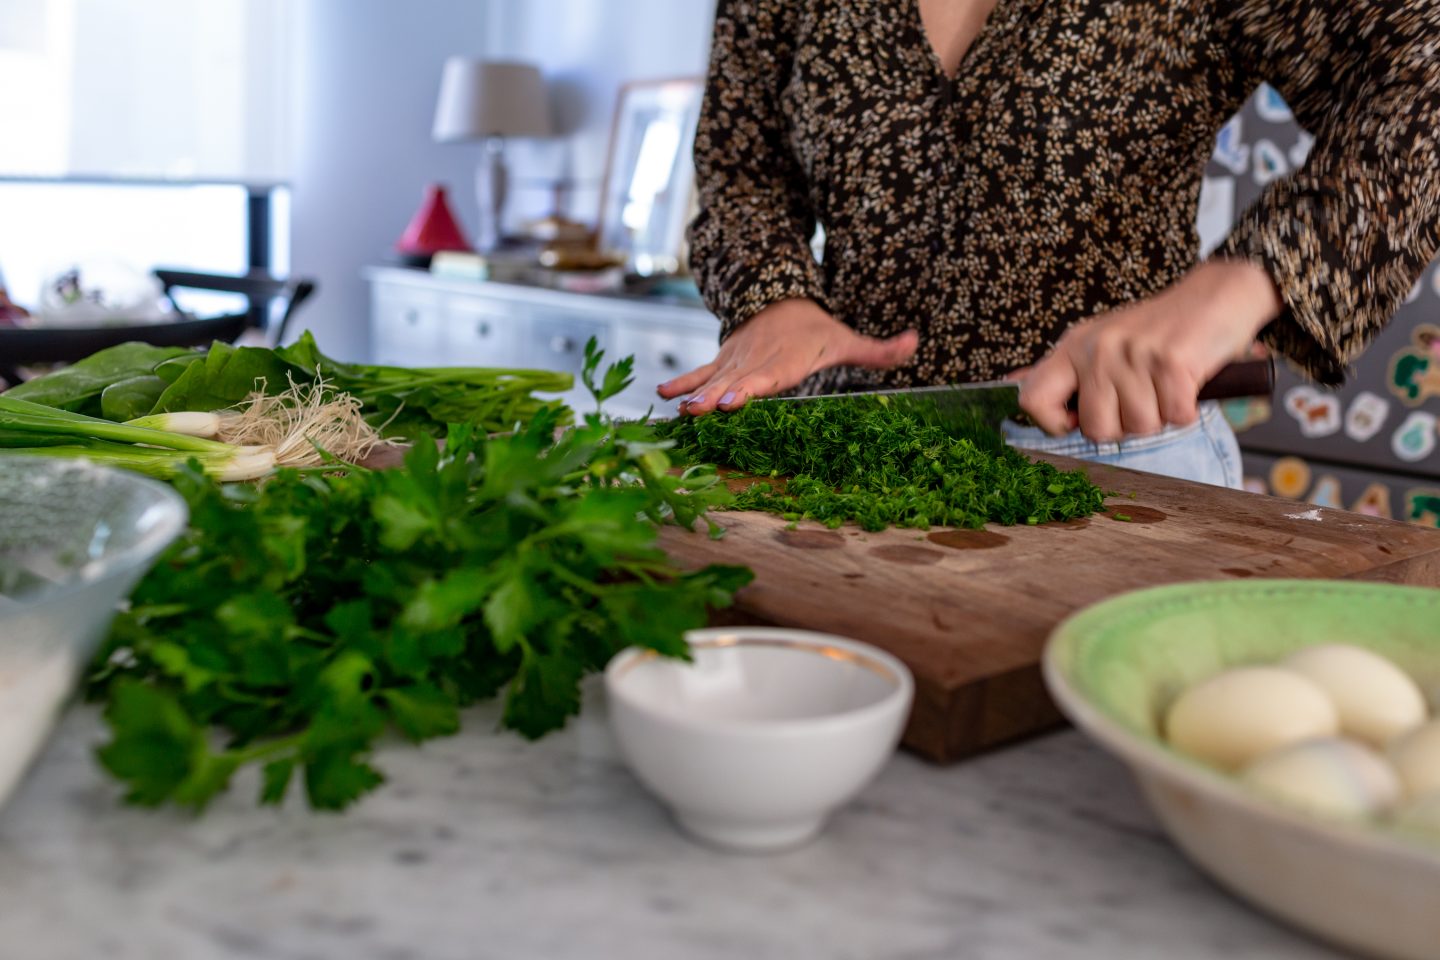
- Meanwhile, roughly chop all of the greens and place into a large mixing bowl.
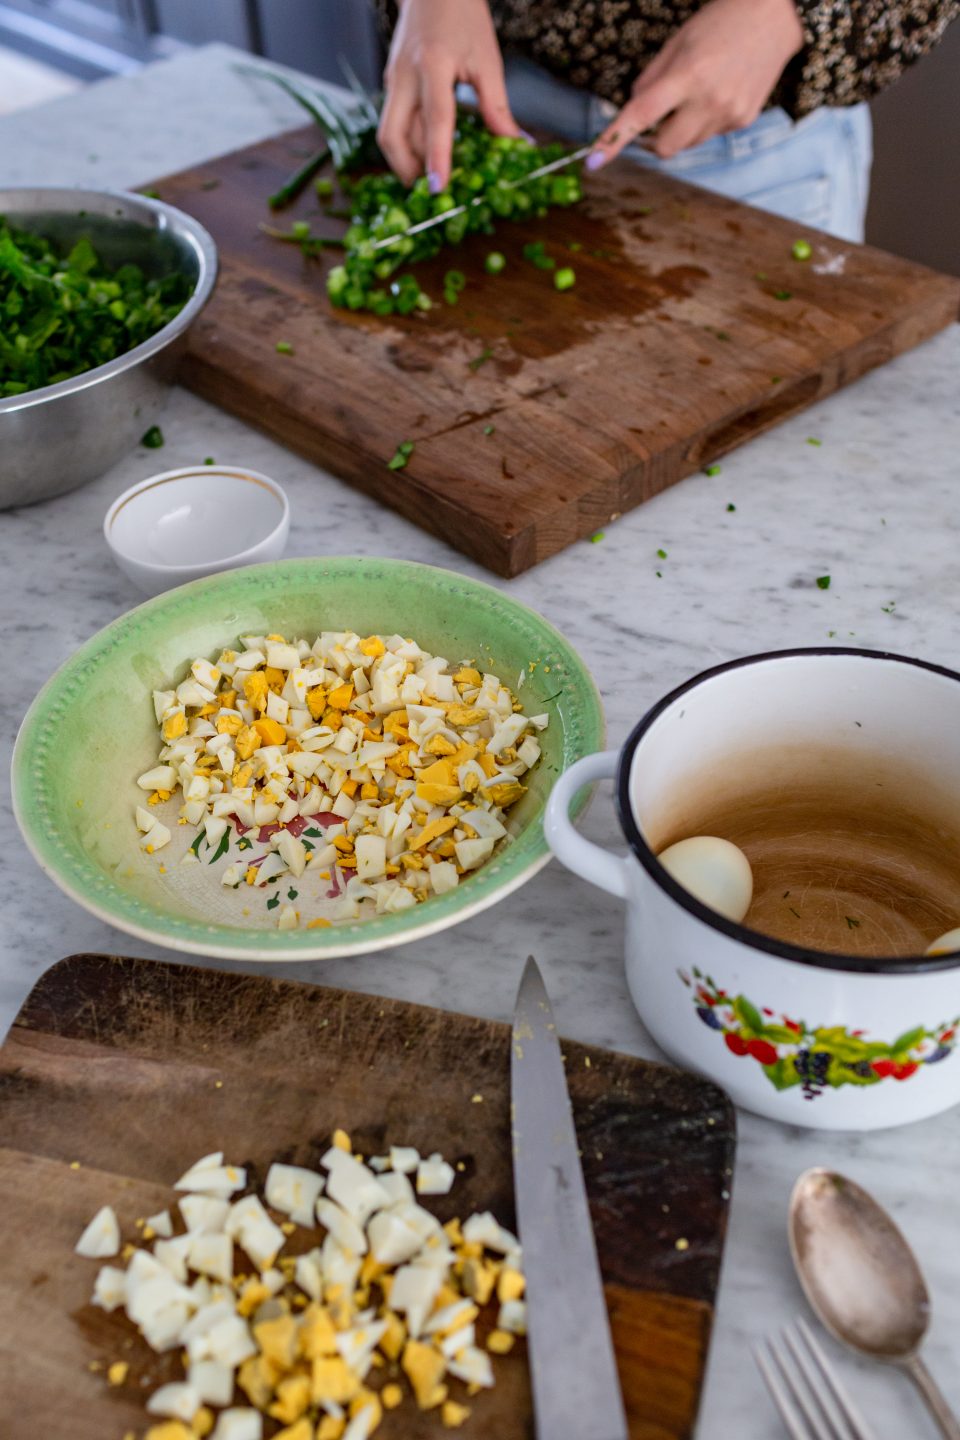
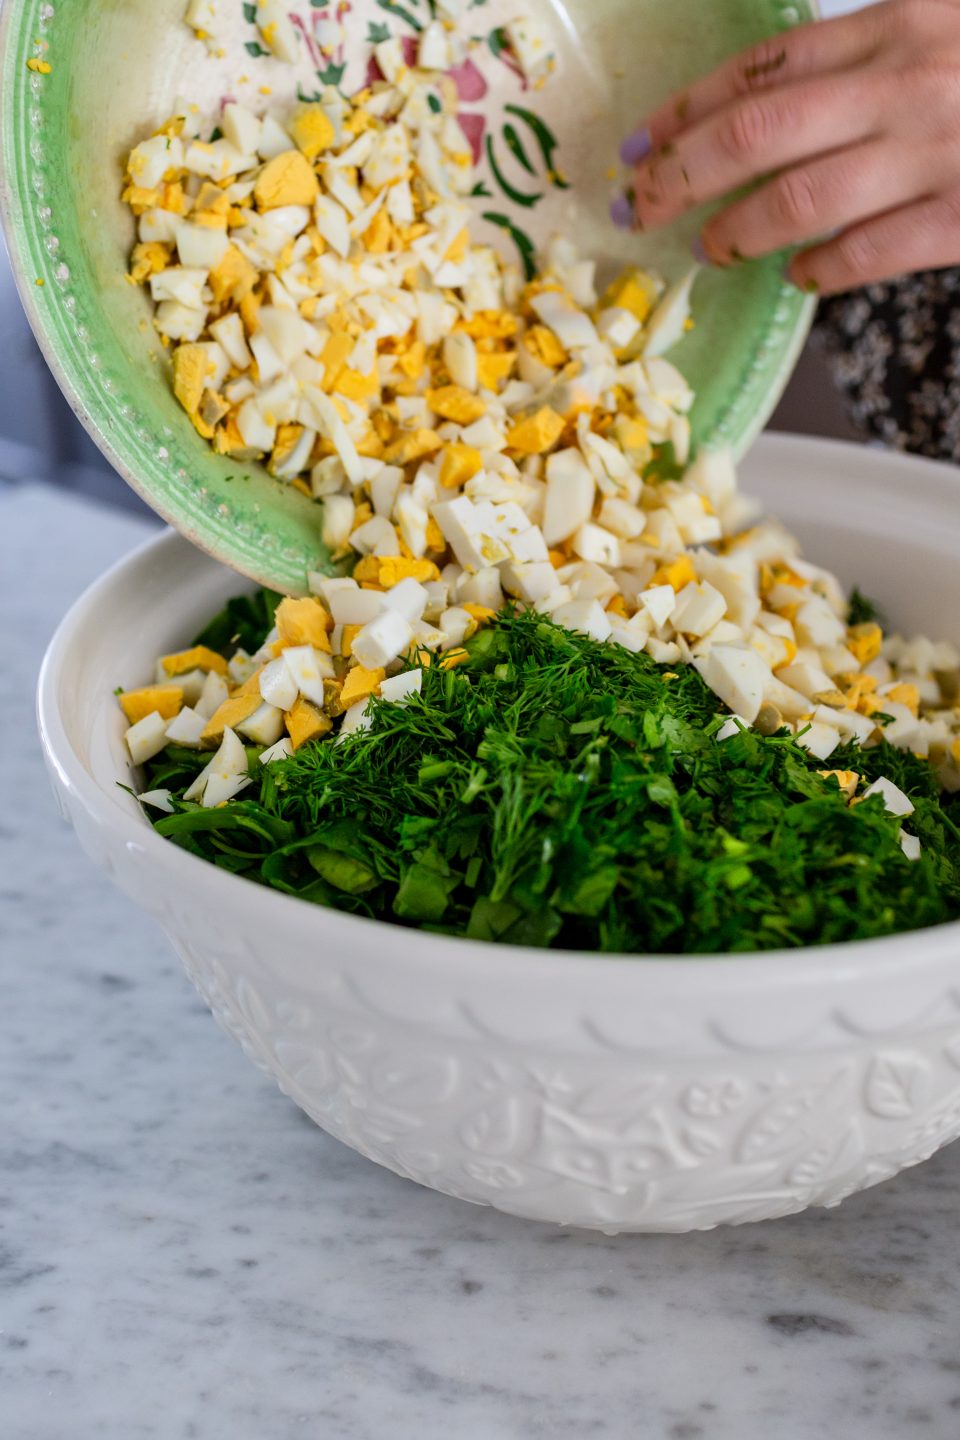
- Peel and roughly chop the eggs. Transfer the chopped egg into the mixing bowl with the greens. Season with lots of salt. Mix through really well and set aside.
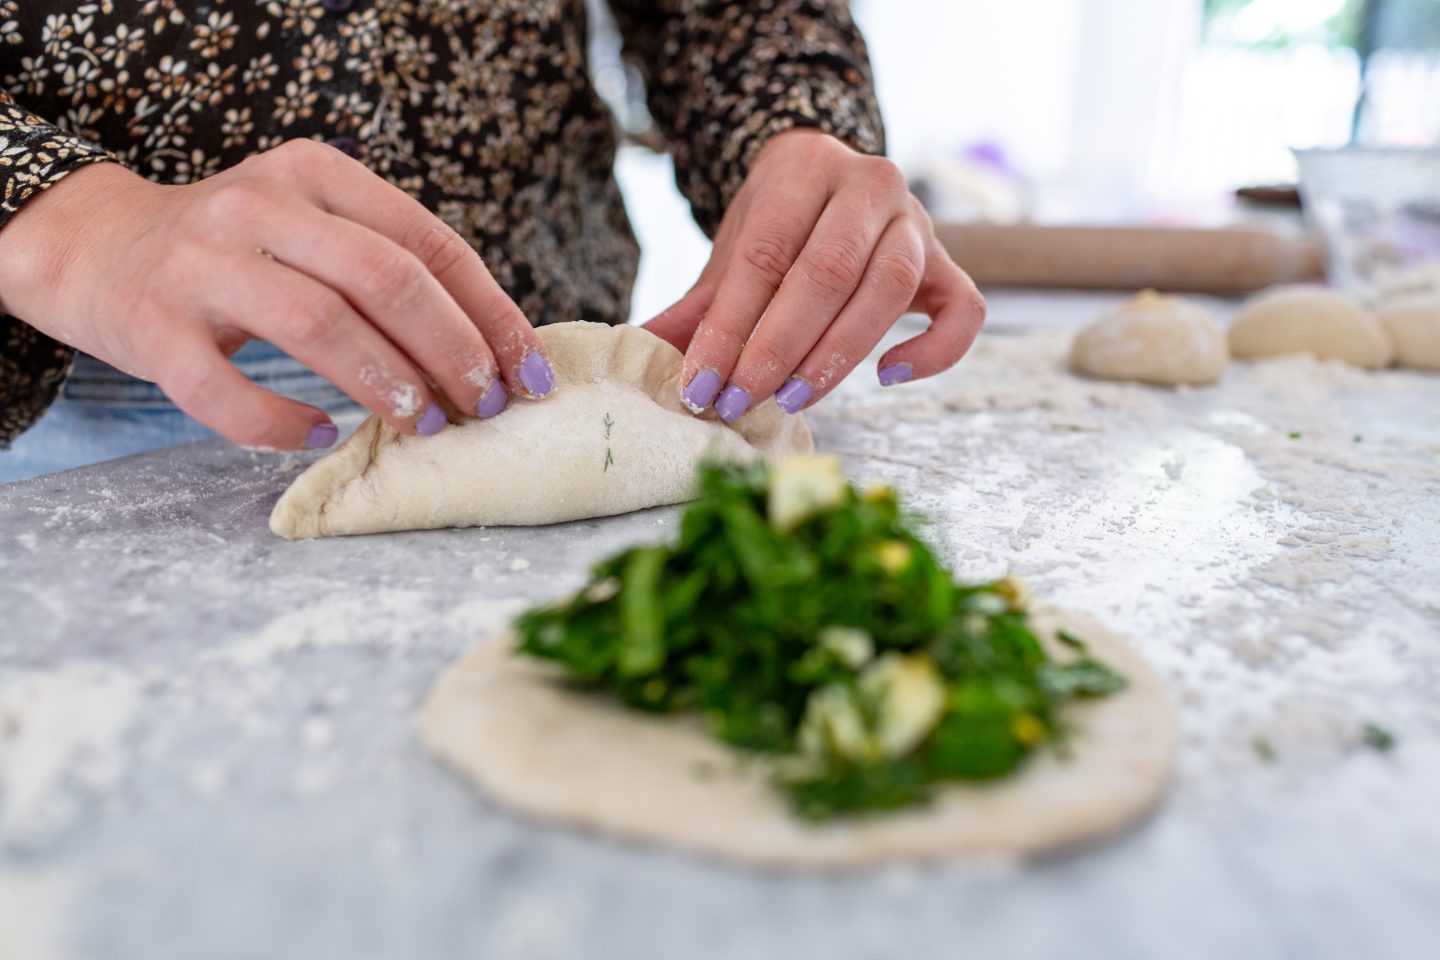
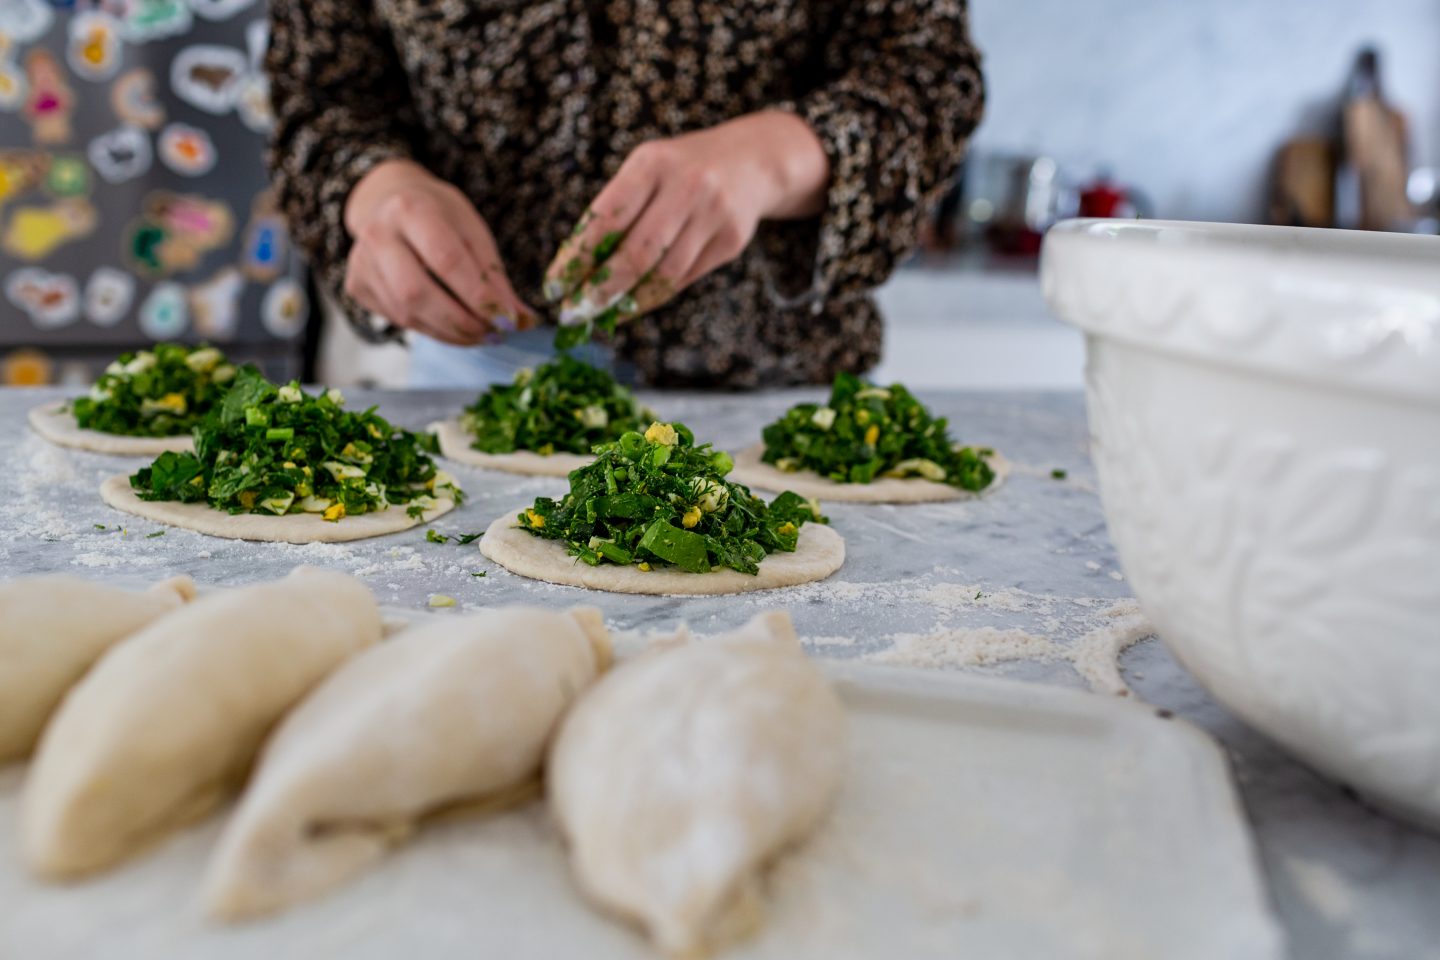
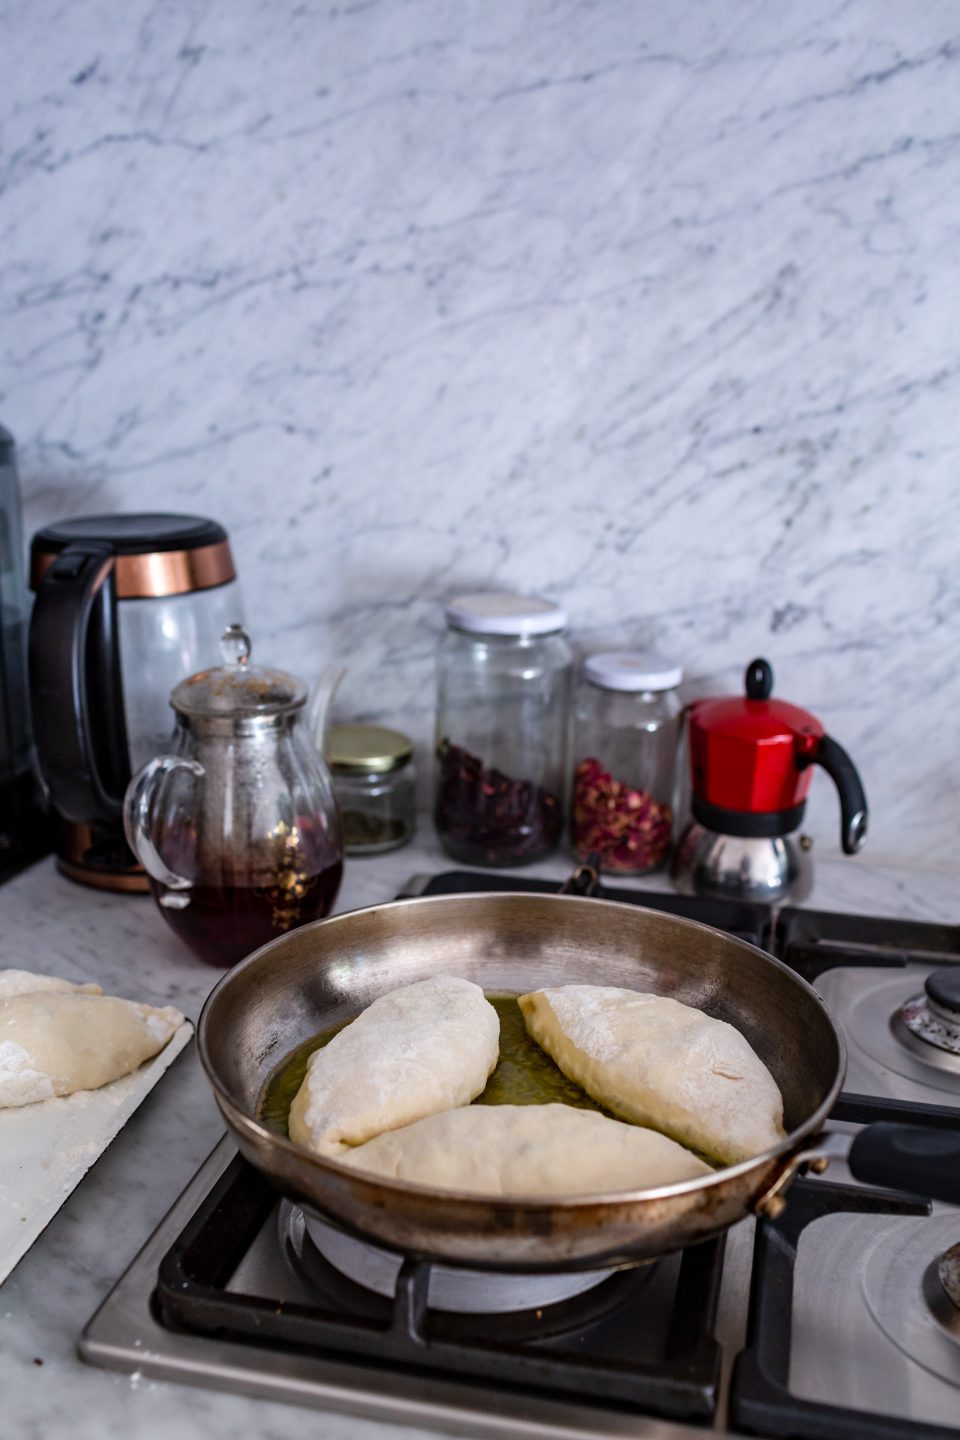
- To make the pirozkhi, remove the bowl with the dough from the fridge. Use a knife to cut, divide and weigh the dough into around 65g pieces. Lightly flour the surface and flour the rolling pin along with your hands. Use the rolling pin to roll the pieces out into slightly oval rectangular shapes that have a medium thickness. Place approximately 2 heaped tablespoons of the filling into the centre. press the opposite edges together, pinching it where needed. Flip it and place onto a lightly floured surface. Repeat until you have at least 3 or so ready and then begin to cook them.
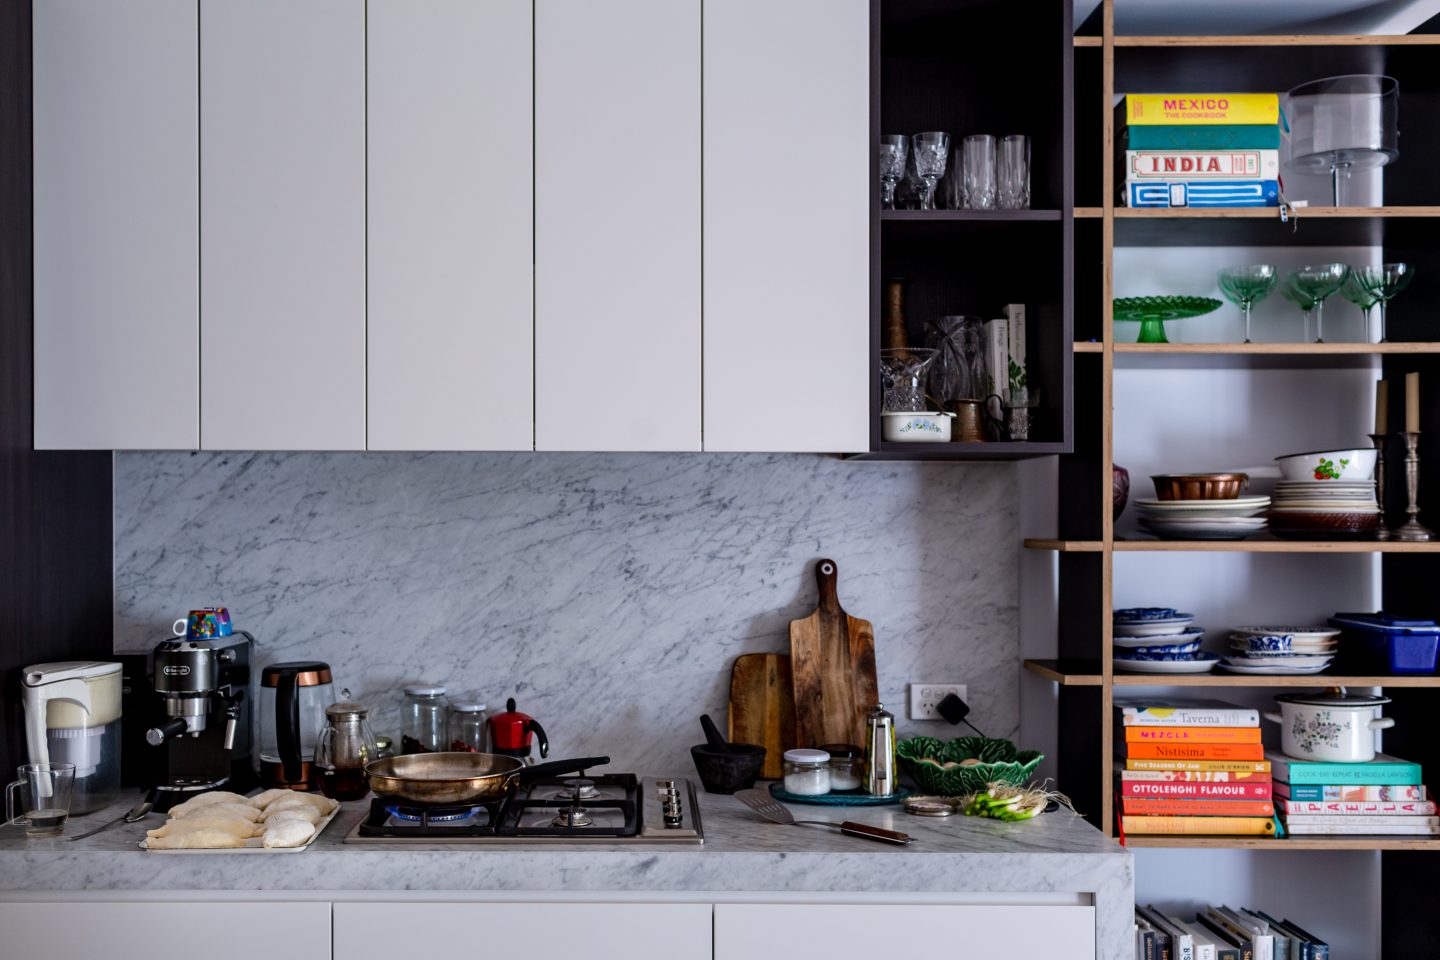
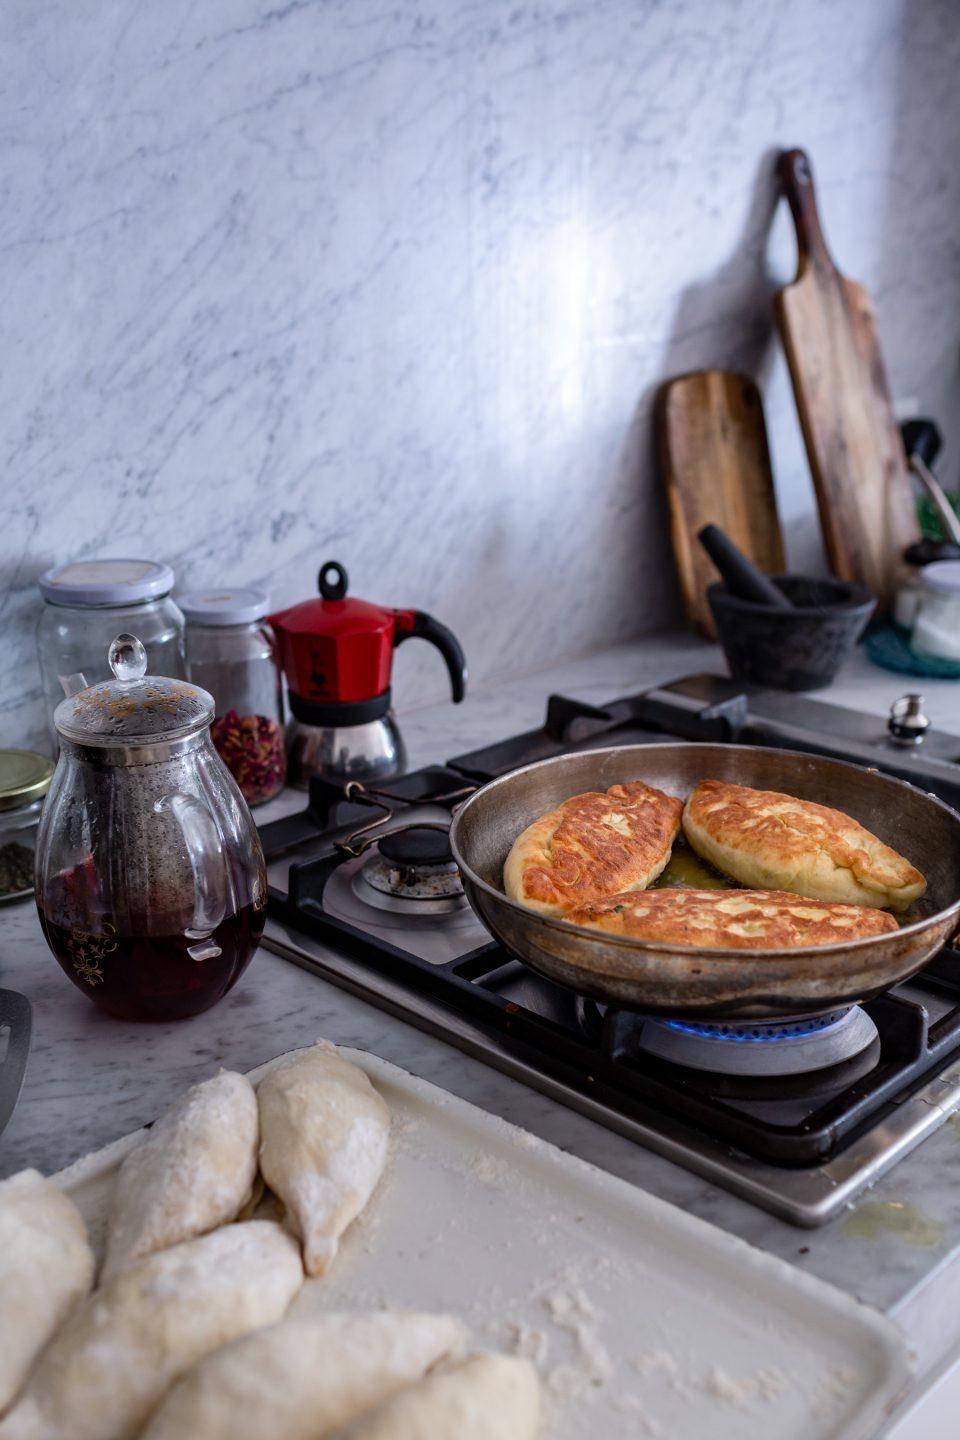
- To cook them heat a large pan with a generous amount of oil. On a medium high heat, cook the pirozkhi on each side until golden – approximately a few minutes. Adapt the heat slightly if needed – reduce or increase as every stove top and pan spreads heat differently. Place the cooked pirozkhi on a plate, into a pot or a platter that’s line with paper towels.
- While you cook a few at a time, continue to roll out, fill and make the pirozkhi. Enjoy and eat straight away if you can!
